Install a network printer on Windows 7
Requirements:
- your ZEDAT login and password (if not on a computer in the IMP domain)
- the name of the printer you want to connect to
- the following instructions will only work from a computer in either the physics department network or from WLAN (eduroam)
1) Open a windows explorer and type \\wprint.imp.fu-berlin.de into the location field:
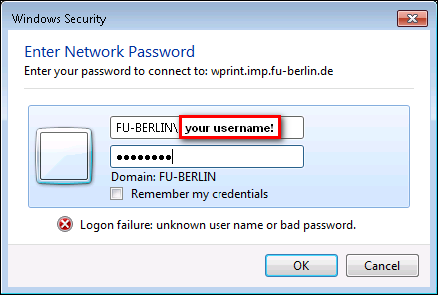
1b) If you are not on an IMP computer, you will most likely be asked for your ZEDAT account and password at this point. Make sure you type FU-BERLIN\ in front of your ZEDAT account name:
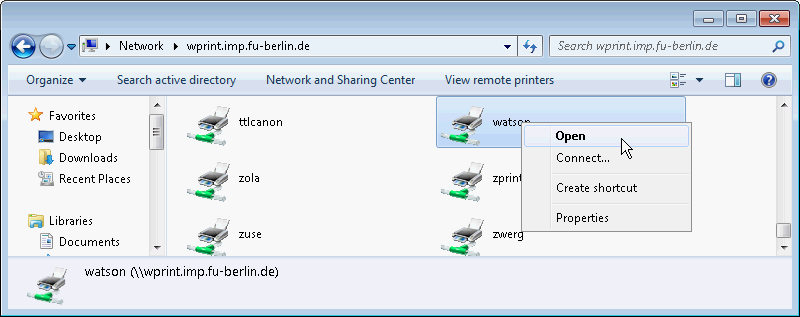
2) In the list of printers locate your printer and double-click it (or choose Open from the context menu):
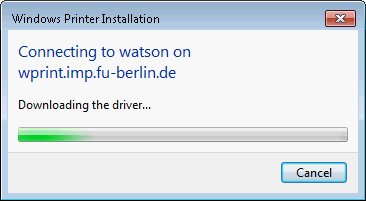
3) You should see a progress bar informing you about driver installation:
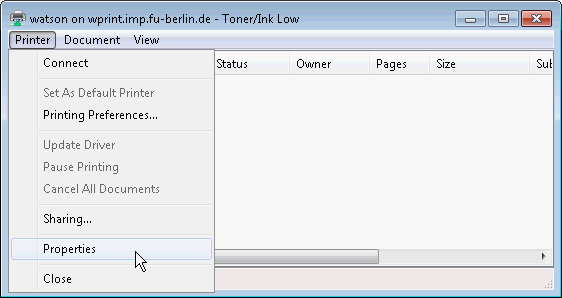
4) When the printer status window appears choose Printer → Properties (Drucker → Einstellungen):
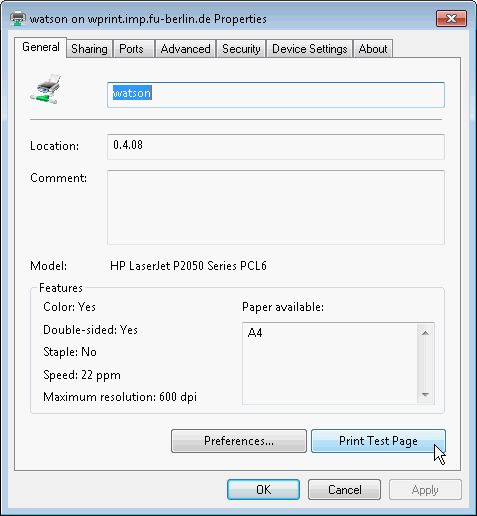
5) On the Properties page you find a Print Test Page button. Click it.
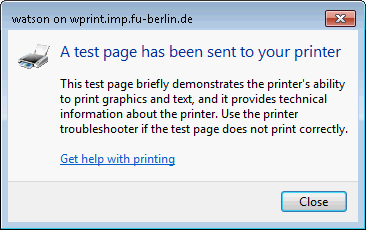
6) Now you should see the following information window and a Windows test page should be printed by your printer:
Remove unused printers
Once you installed a new network printer, be sure to remove old and no longer used printers from your computer:
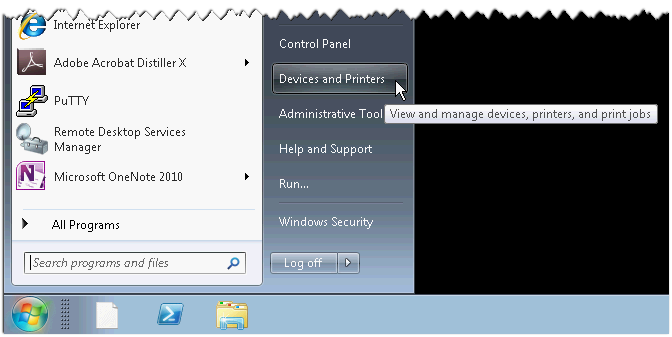
1) Select Devices and Printers from the Start menu:
2) Select the printer you want to remove and choose Remove device from the context menu:
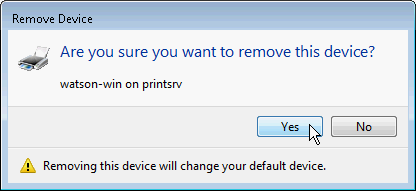
3) Approve removal of the printer:
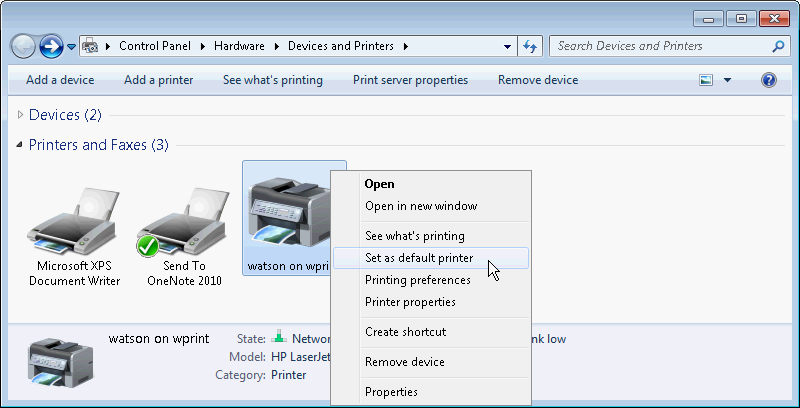
4) If needed, choose the right printer as default printer by selecting Set as default printer from the context menu:


